Building a home recording studio can be a challenging feat, but it’s not an impossible task. Still, it can be intimidating after understanding the things you need to do and acquire to turn this dream into a reality. Nonetheless, methods exist to help set up your at-home recording studio, such as the following techniques:
Own And Learn How To Use A Computer
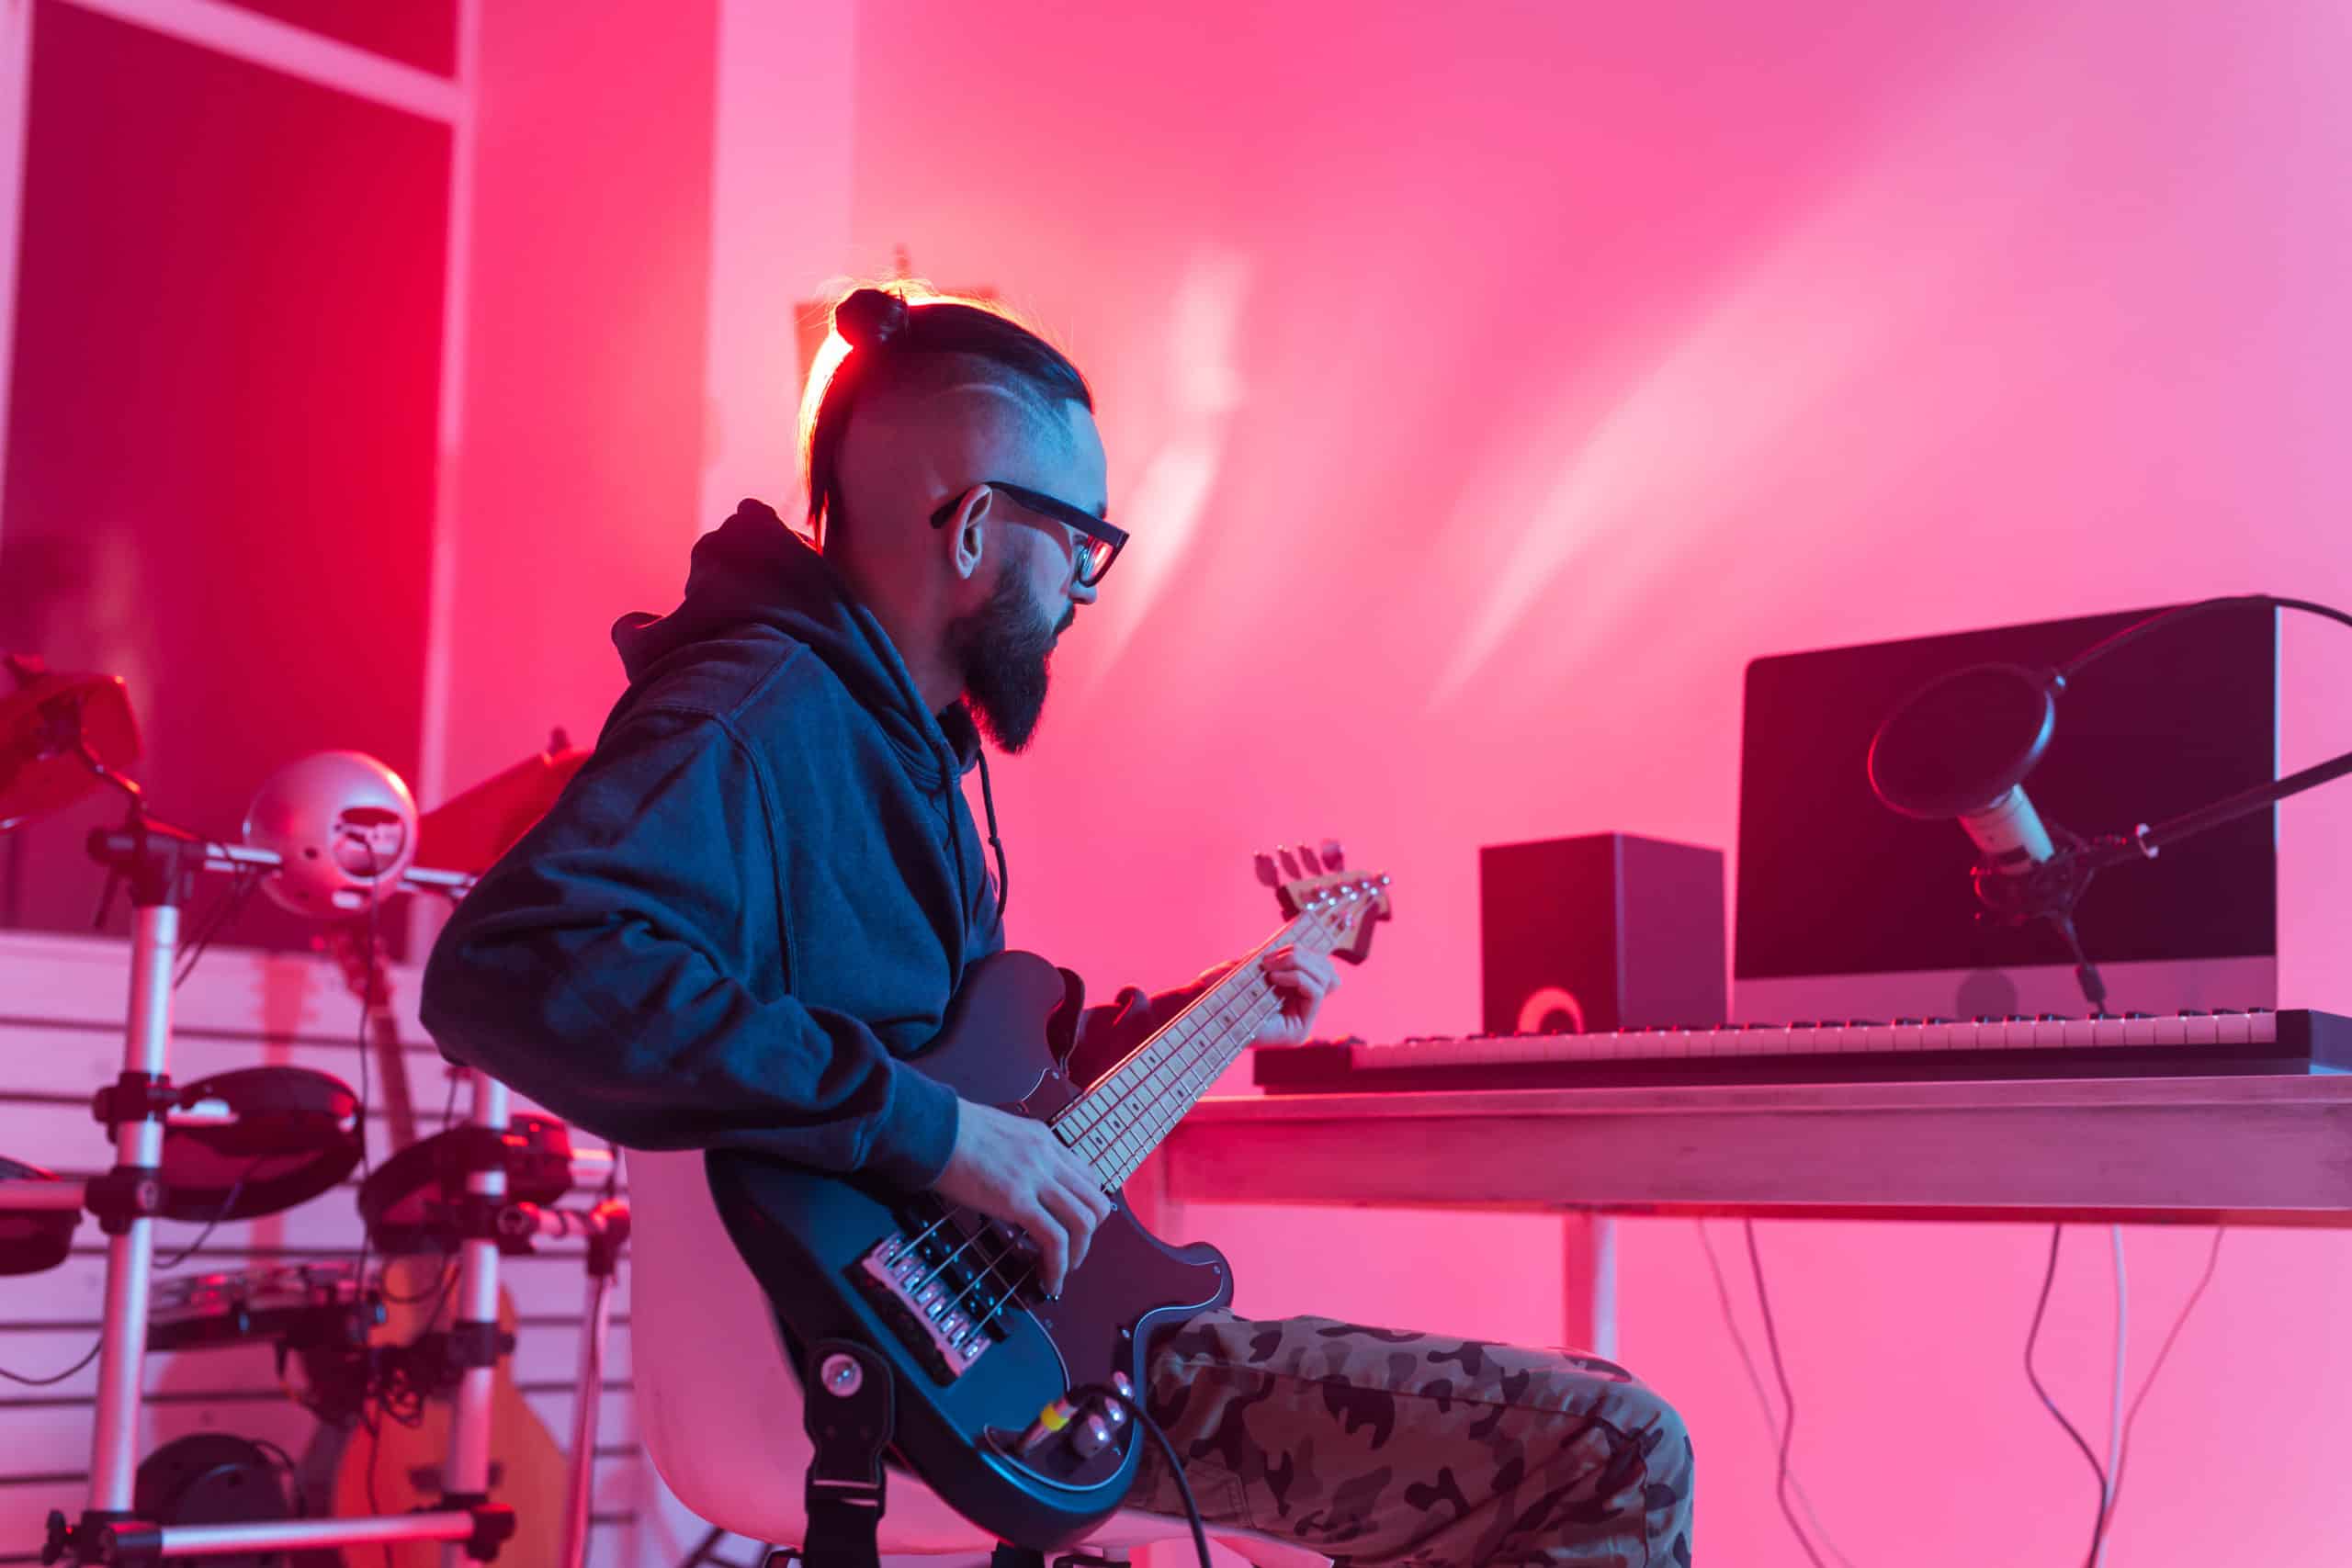
Big things can start from small packages. So, the center of an at-home recording studio isn’t a microphone, but your computer.
A personal computer (PC) should contain different software to help beautify the sound you make in the recording studio. Furthermore, that machine will hook up to the different audio-recording devices in the room through different kinds of audio cables.
If a particular audio cable doesn’t fit into your computer, you may need to purchase extra peripherals to convert the ports and match those cords. Gone are the days when you need to record by using tape decks. Now, you can use a computer to help record, edit, and share your works of art to the world.
However, it doesn’t mean you should buy any computer you find on the market. Be mindful as the PC you purchase might even be the most expensive investment to get for your audio recording setup.
An excellent PC rig for sound recording will have a price that ranges from a thousand to tens of thousands of dollars. Still, it doesn’t mean budget options don’t exist. You can get a budget-friendly desktop or laptop computer. But, you’re going to meet several limitations, such as the lack of input/output options.
Now, after looking at the market and buying a computer for your audio-recording sessions, it’s time to learn how to use the machine.
Like searching for an ideal PC, you should also research appropriate audio recording software. Choose a program that can cater to your needs as a media content creator. You might need to spend extra cash to procure a fully-licensed version of an app, but that decision to buy the full version might be one of the best decisions you’ll make in your audio recording career or hobby.
Select An Audio Interface
After searching for the best audio recording software, it’s time to select a sound interface for your home studio.
You have two options in this regard: digital or analog. Pros and cons exist in both these choices.
For instance, digital audio interfaces can be convenient if you want to bring your work on-the-road. So, audio recording is still possible when you’re not at home. But, it’s challenging to manipulate digital knobs and switches, and use different apps for a successful sound recording session.
Conversely, buying analog audio interfaces lessens the operational load experienced by your computer. So, your PC can have one active audio recording program while your hands are free to change the different controls on-the-fly. But, analog options might not come in compact packages. Furthermore, you might need to make another expensive investment to procure these devices.
Consider different factors when choosing between digital and analog audio interfaces. Are you looking to bring your sound recording sessions to a vacation or a business trip? If so, consider using a digital interface, especially if you’re a beginner in this industry. But, if you want to build a home recording studio with dedicated tools, think about buying analog interfaces instead.
Buy And Install Monitor Speaker And Headphones
An at-home recording studio isn’t complete without a set of monitor speakers and headphones. It’s very challenging to hear and judge sound without speakers and headphones.
But, take note that you need to get monitoring speakers and headphones for your studio. Monitors deliver a “flat” audio response as opposed to many commercial speakers and headphones with modified equalizer curves.
Audio recording requires you to save sound files that are true to their origin. In other words, there are no “hyped up” bass levels as you’d hear in gaming or fitness earphones. Also, sound monitoring devices have clearly-defined audio signatures to allow listeners to listen to the separation between the vocals and the different instruments.
Then, again, not all monitor speakers and headphones share the same perfectly flat profile. For instance, a budget-friendly pair of monitoring speakers might have a slight “kick” in the bass. You can counteract that extra bass by modifying the audio in your soundboard or during the post-editing process.
But, if you don’t want to make the extra effort to “clean” the sound, consider investing in high-end monitors.
Balance The Acoustics
Acoustics are the sound characteristics or qualities of the home recording studio that determine how instruments transmit sound in the area. So, you’d want the audio in your studio to be as “clean” or “flat” as possible, without distortions caused by the room.
For example, you’re recording sound files in your bedroom without any care for acoustics. Now, the architecture of the room creates echoes with each beat you play with your instrument. Your audio recording device is going to pick up every sound in the vicinity, including the echo caused by the room.
In short, failure to care for the studio’s acoustics can lead to disastrous results in sound recording sessions.
You can mitigate this concern by installing appropriate pieces of equipment in the room. For instance, place foam panels on walls to lessen or even eliminate echo. Another option is to develop a separate room in your property for the sole purpose of sound recording.
Now, this new room can have equipment like:
- Soundproof drywalls
- Soundproof curtains
- Acoustical ceiling tiles
- Acoustic partitions
Also, make sure to seal every crack found in your studio’s ceiling, floor, and walls. Sound can escape through these cracks, thereby causing disruptions in the sound signature recorded.
Conclusion
A home recording studio needs careful planning and preparation to ensure that the sound production develops a file without unnecessary disruptions in the audio signature. You can achieve excellent results by using a capable computer, selecting the right audio interface, buying reliable monitors, and balancing the acoustics in the room. Take the time to research the items you’ll need to complete the studio. If done correctly, you should have a home recording studio that you can genuinely flaunt to the music world.
Thanks for Reading! You can stay up to date on all our content, such as reviews, interviews and of course our podcast, via our Monthly Newsletter!
We run the site voluntarily and like to keep the lights on (and the hosting up to date) so any support via our Patreon is also much appreciated!
Stay up to date via our Monthly Newsletter as well: www.thesoundarchitect.co.uk/newsletter